2024 / 12 / 16
Techniques and Tools for Making Culinary Foams
Table of Contents
Culinary foams have emerged as a versatile and visually striking technique in modern gastronomy. This form of ethereal foam transforms the shape, texture, flavor and presentation of dishes which results in very sophisticated meals. At the heart of these foams lies the whipped cream charger – a small pressurized canister filled with nitrous oxide gas (N2O). When this gas is released into a liquid, it undergoes rapid expansion which then stabilizes the formed foam.
This particular guide aims to explain tools and techniques essential for making exquisite culinary foams while analyzing the composition of bubbles within foams alongside practical advice on achieving

Techniques for Creating Culinary Foams
1. Traditional Techniques
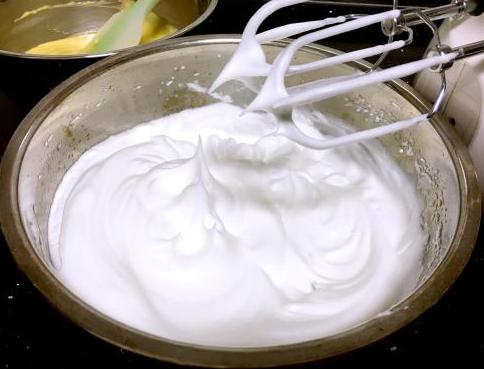
Manual Whipping
- Suitable Ingredients: Often, egg whites, cream as well as some fruit purees can be used to manual whipping. The selection of an ingredient impacts the stability and the texture of foam produced.
- Whipping Technique: Heavier whipping either slow or gentle motion arrives with the care of air incorporation while some stronger form contributes to a stable foam formation.. This form generates very dense products along with coarse porosity due to aggressively beating excess.
Heat-Assisted Whipping
- Temperature Control: Different ingredients require different heating temperatures. For example, egg whites are typically heated to a specific temperature to achieve maximum volume.
- Post-Heating Whipping: After heating portions must be allowed slight pampering else issues will snowball downwards such us lack of air capture and triumph over collapse of foam structure rigidity slack off during loss coupled with prolonged relaxation without motion helps achieve the secondary stiff formations upon sufficiently cooled mugs, ready to sip into soft slumped peak shapes plus toasted biscuits.
2.Modern Techniques:Using Whipped Cream Chargers
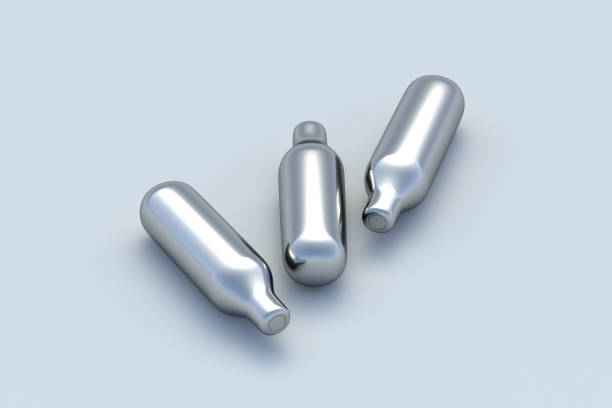
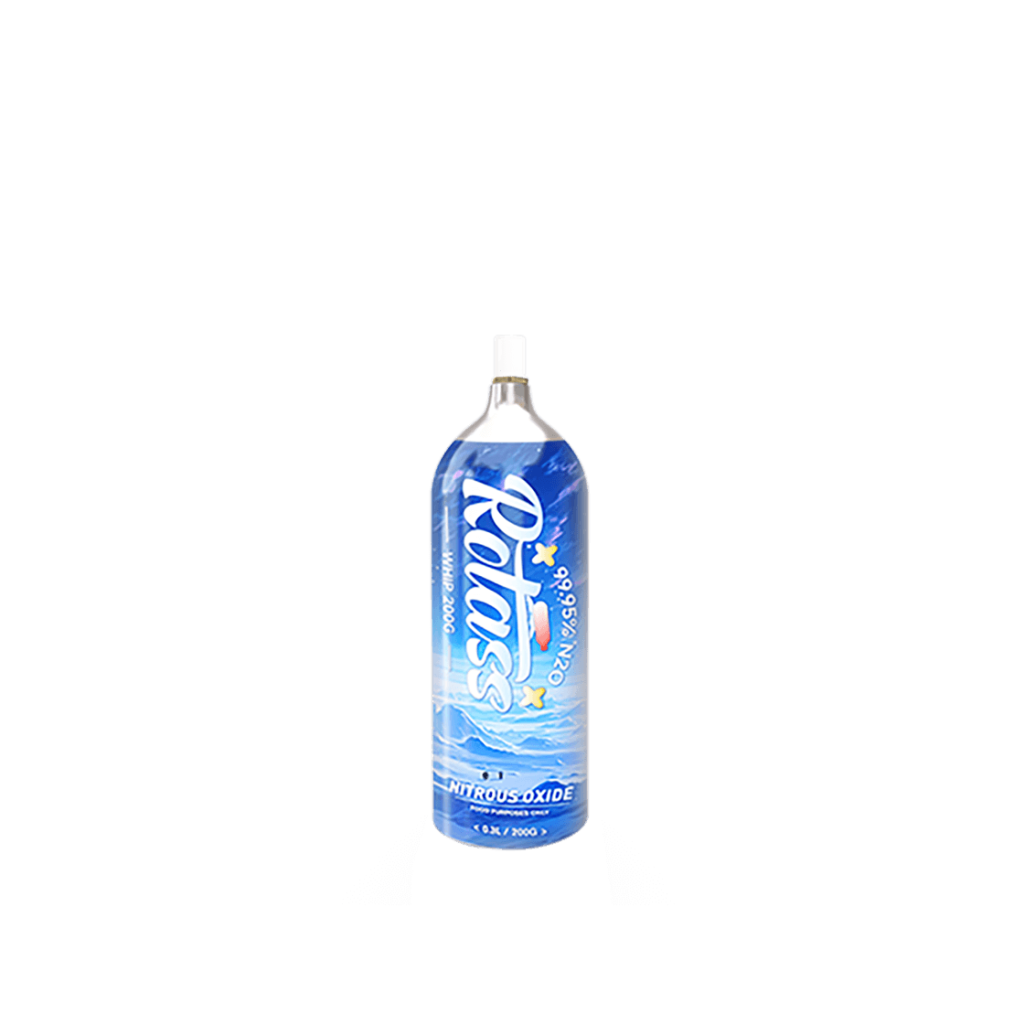
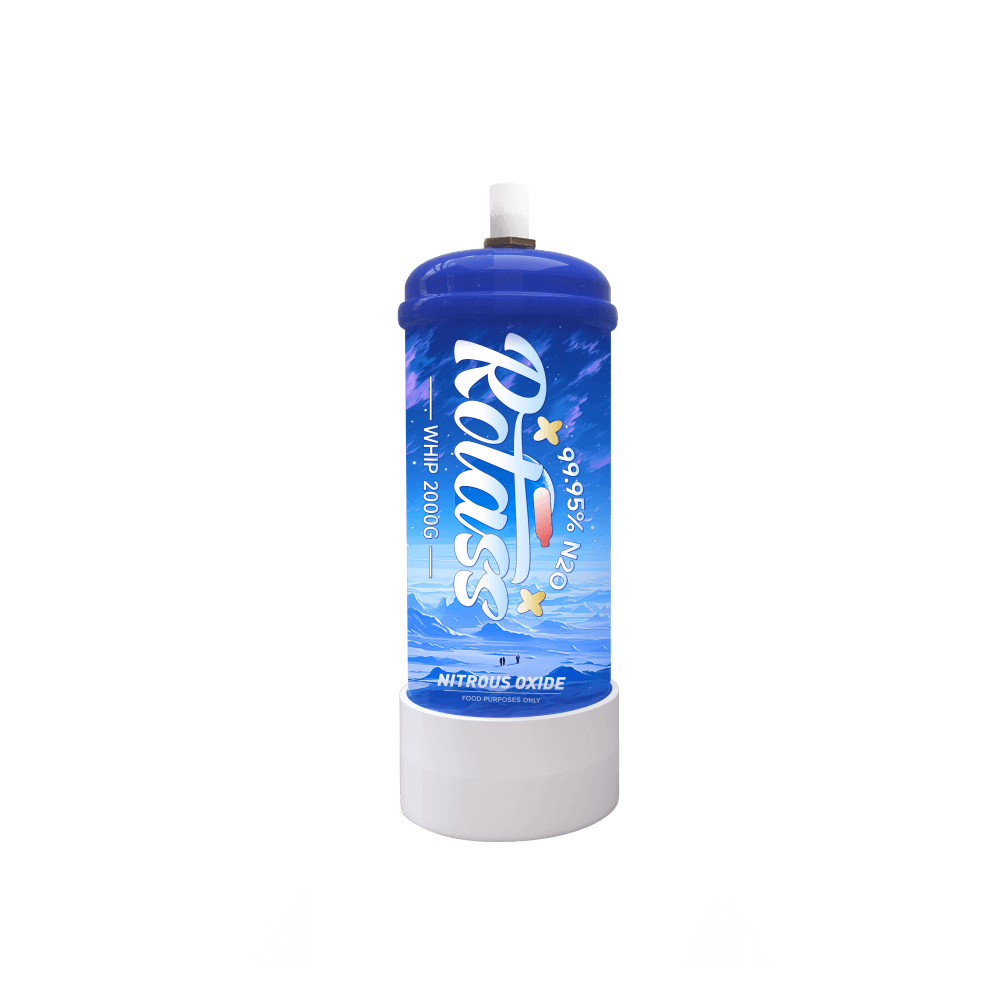
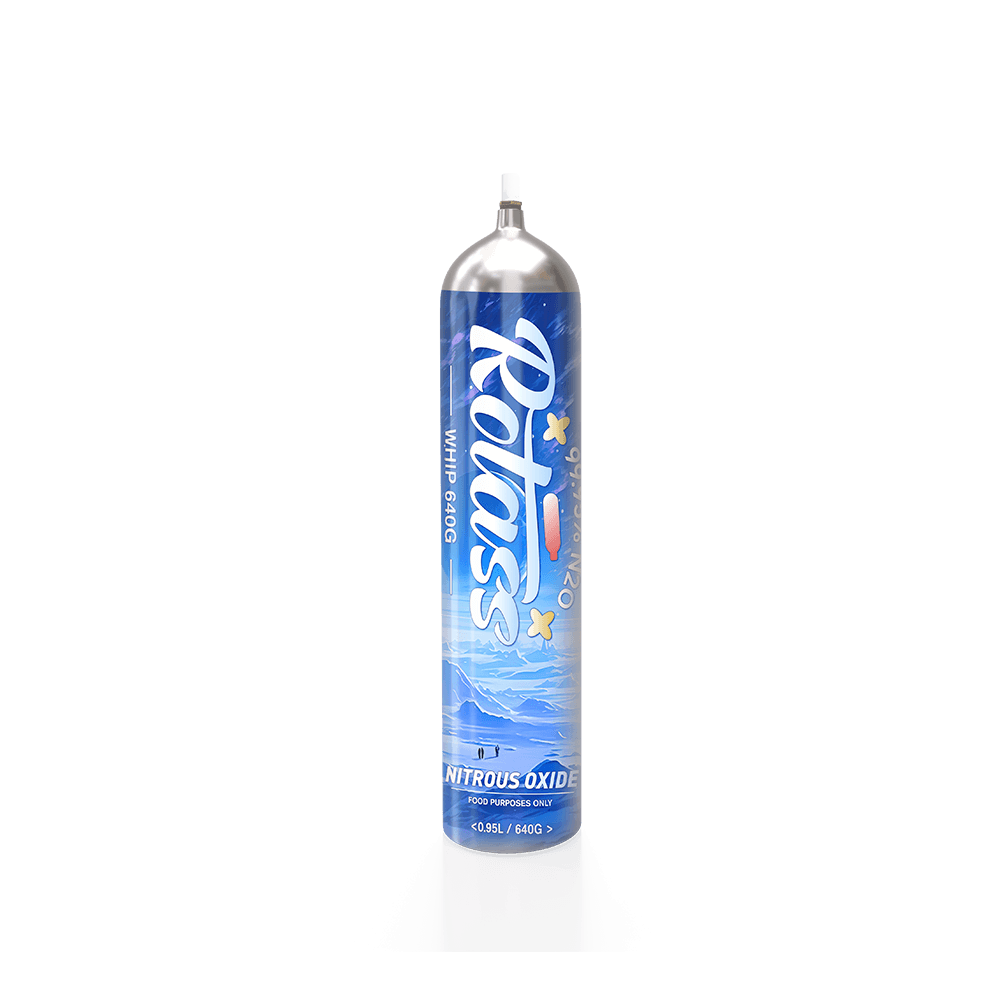
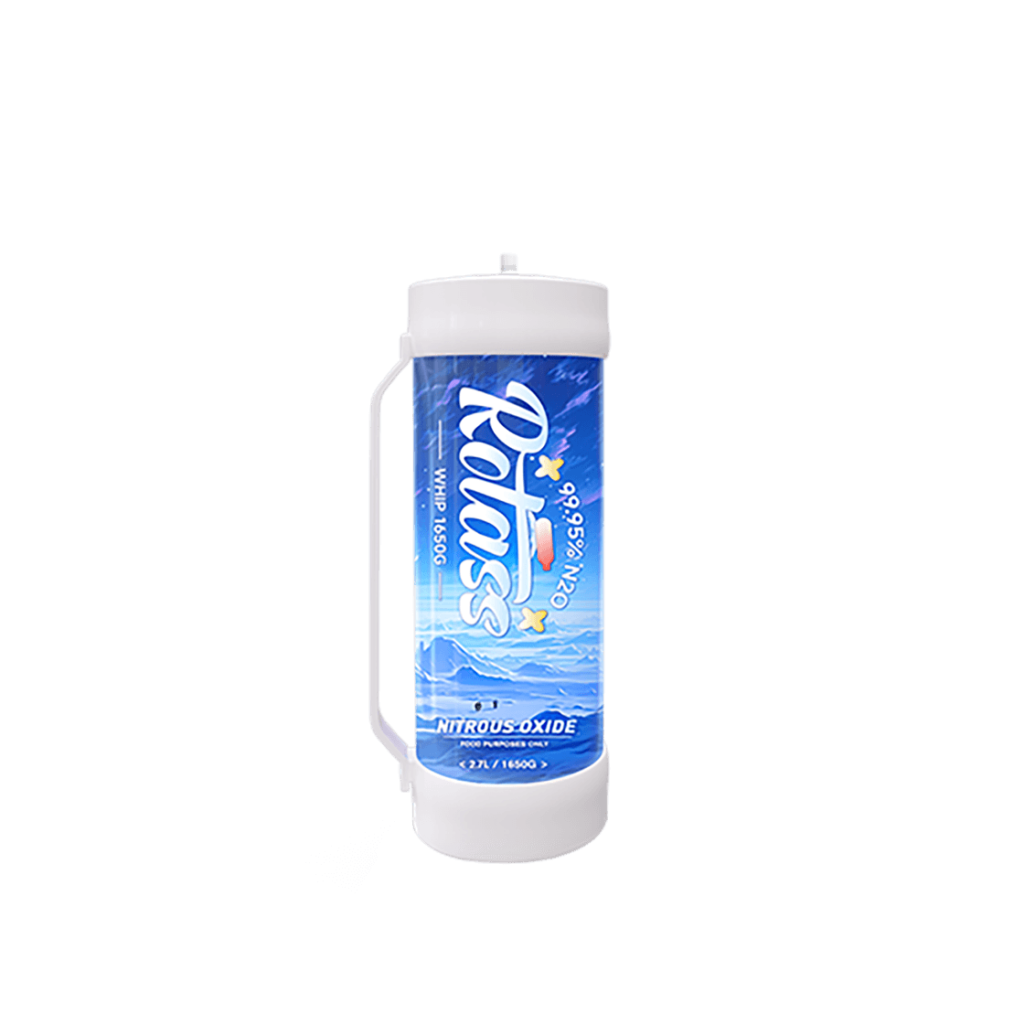
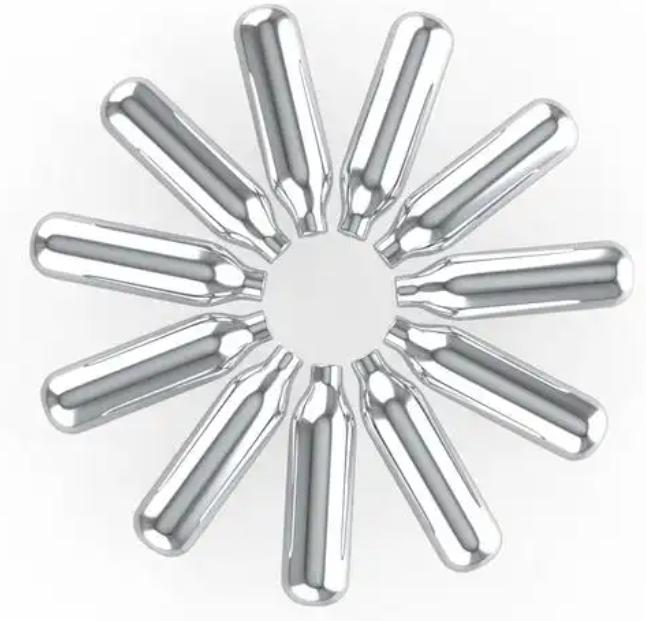
Whipped cream chargers have revolutionized the way we create foams in the culinary world. These small, pressurized canisters contain nitrous oxide (N₂O), a gas that, when released into a liquid, rapidly expands and creates a stable foam.
How it works:
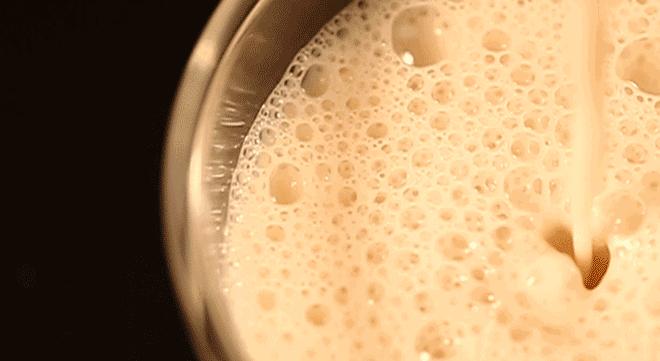
- Gas Release: When a charger is pierced, nitrous oxide is released into the liquid.
- Gas Dissolution: The gas dissolves into the liquid, creating tiny bubbles.
- Foam Formation: As the gas expands, it creates a foam structure, giving the liquid a light and airy texture.
- Protein Denaturation: In some cases, the gas can also help denature proteins, further stabilizing the foam.
Operating Whipped Cream Chargers: A Step-by-Step Guide
Before You Begin:
- Cleanliness: Ensure your dispenser is clean and dry to prevent contamination.
- Safety Gear: Always wear protective eyewear to safeguard your eyes.
Charging the Dispenser:
- Insert the Charger: Place a charged cream charger into the designated slot on your dispenser.
- Pierce the Charger: Using the provided piercing tool, puncture the charger to release the nitrous oxide gas.
Shaking:
- Vigorous Shaking: Shake the dispenser vigorously for the recommended time to ensure proper gas infusion and foam formation.
Dispensing:
- Attach the Nozzle: Connect the desired nozzle or tip to the dispenser.
- Gentle Dispensing: Slowly dispense the foam onto your desired dish or plate.
Safety Precautions:
- Avoid Heat: Never expose the charger to heat sources as it may lead to explosions.
- No Sharp Objects: Do not puncture the charger with sharp objects other than the provided piercing tool.
- Responsible Disposal: Dispose of used chargers according to local regulations.
- Storage: Store unused chargers in a cool, dry place away from heat and direct sunlight.
Advantages of Using Whipped Cream Chargers
- Speed and Efficiency: Whipped cream chargers allow for quick and easy foam creation.
- Consistency: The use of chargers results in a more consistent foam texture compared to manual whipping.
- Variety: Chargers can be used with a wide range of liquids and ingredients, allowing for endless culinary possibilities.
Other Modern Equipment and Techniques: Dedicated Foam Machines
- Vacuumizing Air: Drawing air into a liquid to create small bubbles.
- Incorporating Gas: Injecting a gas, like nitrous oxide or nitrogen, into the liquid to create a finer and more stable foam.
- Temperature Control: Precisely controlling the temperature of the liquid to optimize foam formation.
Advantages of Foam Machines:
- Customization: These machines often allow for a high degree of customization, allowing chefs to control factors like foam density, texture, and flavor.
- Consistency: They provide a more consistent and repeatable result compared to manual methods.
- Volume: Foam machines can produce larger volumes of foam more quickly.
Variety: Many machines can be used to create a wide variety of foams, from cold foams to hot foams.
Disadvantages of Foam Machines:
- Cost: Dedicated foam machines can be a significant investment for home or small-scale kitchens.
- Complexity: They can be more complex to operate and clean than whipped cream chargers.
- Specialized Use: These machines are primarily designed for foam creation and may not have other culinary applications.
Comparison to Whipped Cream Chargers:
| Feature | Whipped Cream Chargers | Foam Machines |
| Cost | Relatively inexpensive | More expensive |
| Ease of use | Easy to use | Can be more complex |
| Versatility | Versatile for various liquids | Highly specialized for foam creation |
| Consistency | Consistent, but less customizable | Highly customizable and consistent |
| Volume | Good for smaller volumes | Can produce larger volumes |
Tools for Creating Culinary Foams
1. Basic Tools
Whisk
- Manual Whisks: Ideal for small batches and when precise control is needed. Balloon whisks are particularly effective for incorporating air.
- Electric Mixers: Efficient for larger volumes and quicker results. Hand mixers and stand mixers offer varying levels of power and versatility.
- Material Impact: The material of the whisk can affect the texture of the foam. For example, silicone whisks are gentle on delicate ingredients and can prevent over-beating.
Containers
- Shape: Tall, narrow containers are ideal for maximizing volume and creating a stable foam.
- Material: Stainless steel and glass containers are preferred as they are non-reactive and easy to clean. Plastic containers should be BPA-free and heat-resistant.
- Size: The size of the container should be proportionate to the amount of liquid being whipped. Overfilling a container can hinder foam formation.
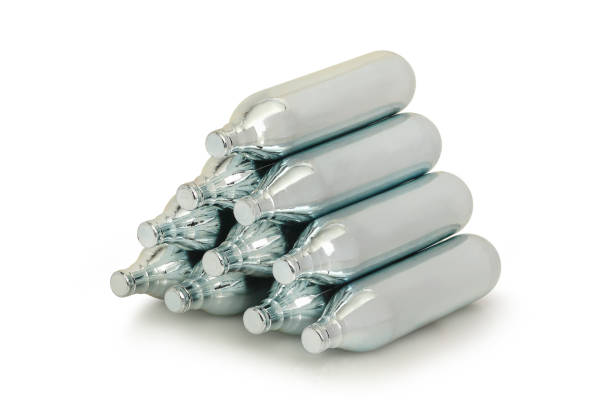
2. Specialized Tools: Whipped Cream Chargers
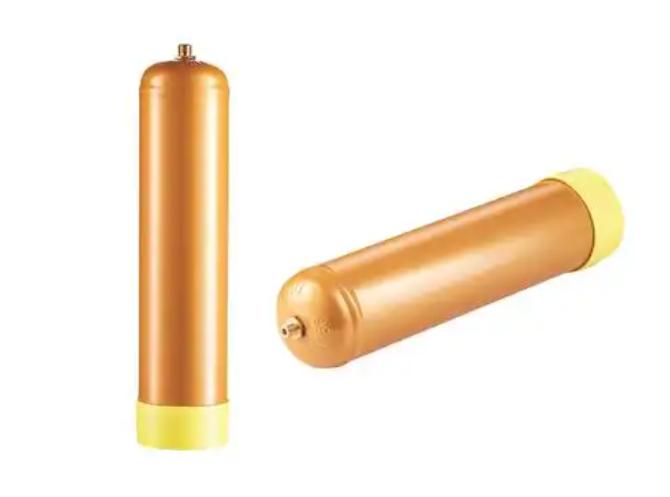
- Components: Whipped cream chargers typically consist of a metal canister filled with nitrous oxide, a safety cap, and a piercing mechanism.
- Brand and Model Variations: Different brands and models of whipped cream chargers may vary in terms of size, capacity, and the type of gas used.
- Cleaning and Maintenance: Whipped cream chargers themselves do not require cleaning, as the gas is contained within a sealed canister. However, the dispenser that holds the charger should be cleaned regularly to prevent buildup and ensure proper function.
Techniques for Creating Culinary Foams with Different Ingredients
| Techniques and Tools | Customization | ||
| Cream-Based Foams | Fresh Cream: Offers a richer, more natural flavor and can be whipped to a softer, more spreadable consistency. However, it may be less stable than processed cream. | Whipped Cream Chargers: These provide a quick and easy way to create a large volume of whipped cream. | Flavorings: Infuse your cream with extracts, liqueurs, or purees for customized flavors. |
| Electric Mixer: For smaller batches or when more control over the texture is desired. | |||
| Temperature: Cold cream whips more easily and produces a firmer foam. | |||
| Processed Cream: Often contains stabilizers that enhance its ability to hold air, resulting in a firmer and more stable foam. However, the flavor may be slightly less rich. | Stabilizers: Adding a stabilizer like gelatin can help increase the foam’s stability. | Textures: Experiment with different whipping times to achieve varying degrees of stiffness. | |
| Sweeteners: Sugar can be added to enhance sweetness and stability. | |||
| Egg White-Based Foams | Separation: Ensure that no yolk contaminates the egg whites, as even a small amount of fat can hinder whipping. | Clean Bowl and Whisk: Use a clean, grease-free bowl and whisk to prevent the egg whites from collapsing. | Flavors: Add extracts, spices, or purees for flavor. |
| Acid: Adding an acid, such as cream of tartar or lemon juice, helps stabilize the foam by denaturing the proteins. | Room Temperature: Bring egg whites to room temperature before whipping for best results. | Colors: Use natural food colorings to create visually appealing foams. | |
| Sugar: Sugar gradually added during whipping helps strengthen the foam’s structure. | Electric Mixer: For quicker and more consistent results, use an electric mixer on high speed. | ||
| Stages of Whipping: Soft peaks, stiff peaks, and dry peaks are the common stages achieved in egg white whipping. The desired stage depends on the recipe. | |||
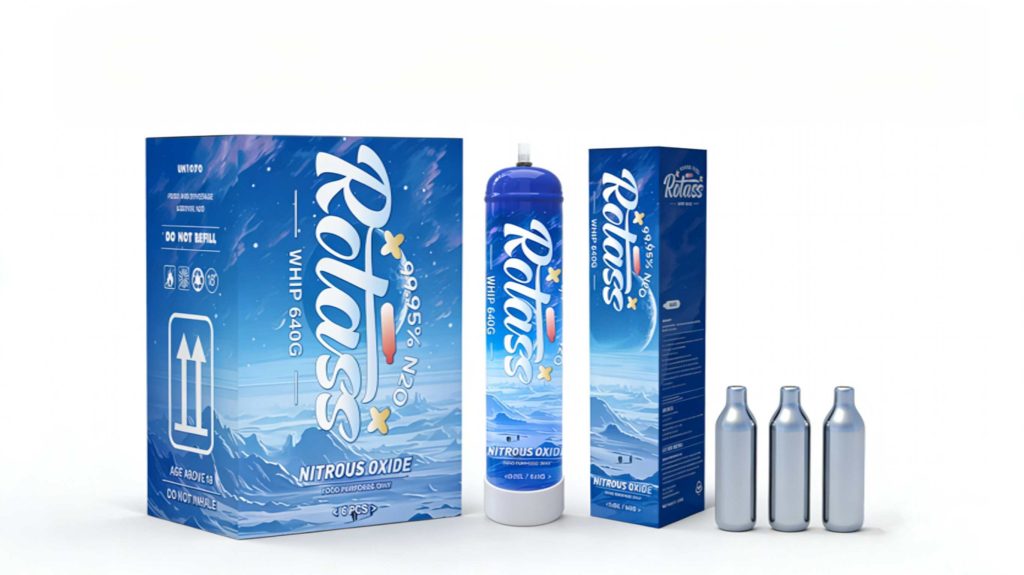
If you want to get more information about crafting culinary foams or whipped cream chargers, please contact the whipped cream chargers supplier Rotass.