2024 / 05 / 21
Level Up Your Kitchen: How to Use Nitrous Oxide for Delicious Results
Have you ever wondered how restaurants achieve such light and airy whipped cream? The secret ingredient that may surprise you: is nitrous oxide. Nitrous oxide takes on a new life in the kitchen, transforming liquids and creams into delectable textures. This article delves into the science of nitrous oxide’s culinary magic and walks you through the process of using a nitrous oxide dispenser to achieve restaurant-quality results at home. We’ll teach you everything you need to know to make impressive desserts, mousses, and even savory foams, from why it works to how much gas to use.
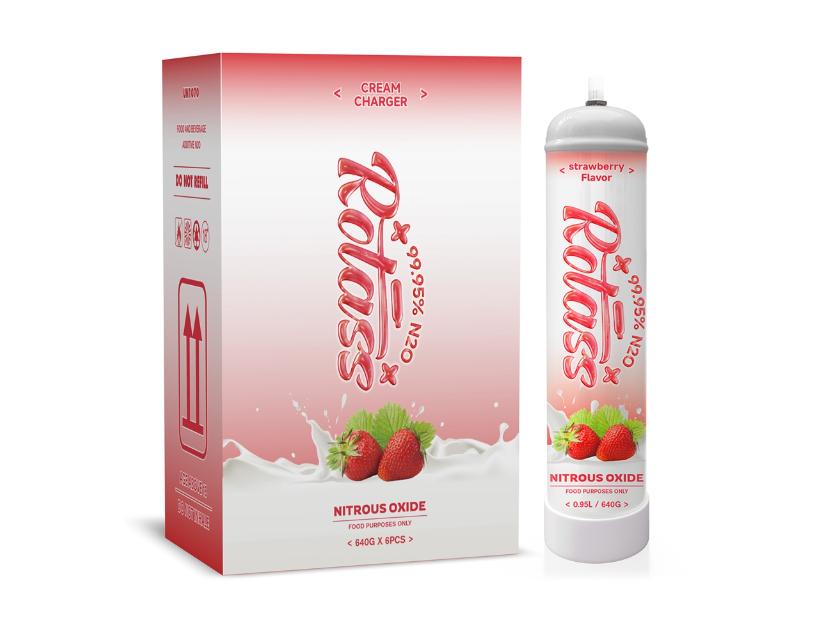
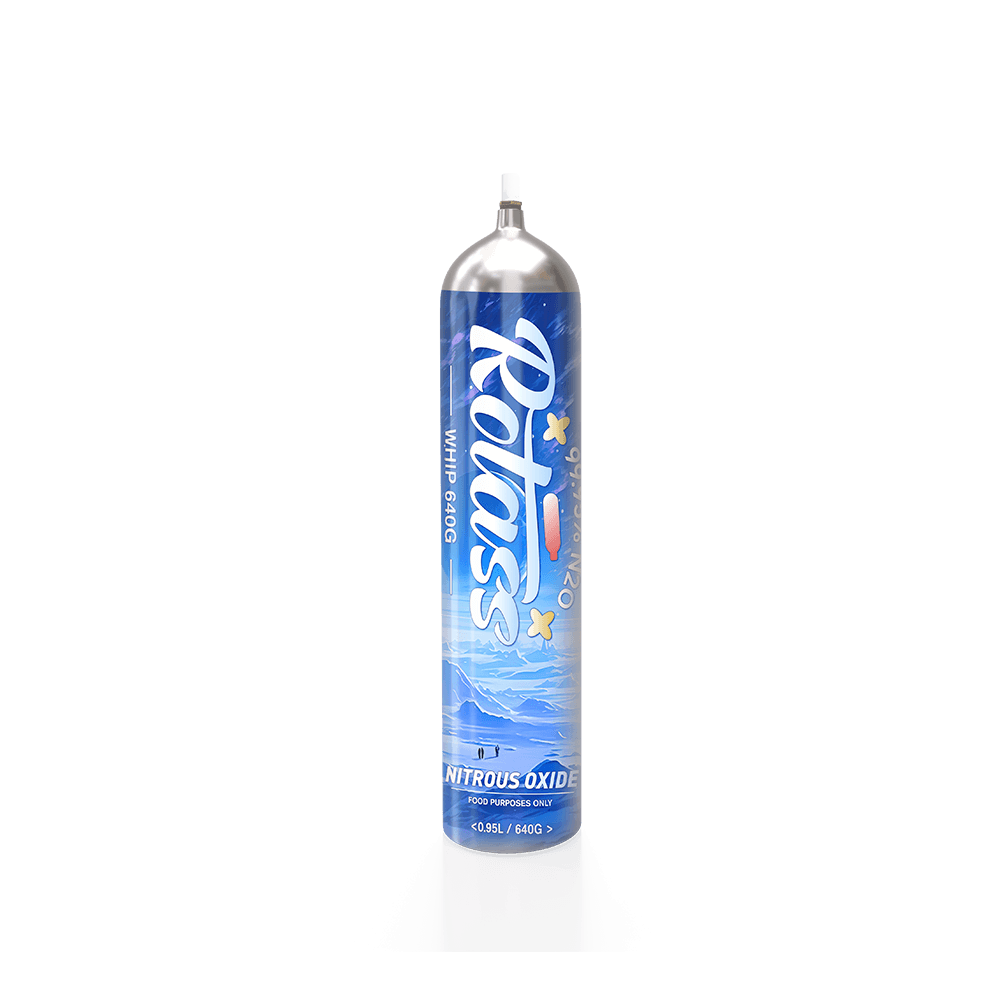
Why Are Nitrous Oxide Cylinders Used in Food Preparation?
Nitrous oxide cylinders are popular in food preparation for a few key reasons:
- Creating Light and Airy Textures: When added to liquids or creams, it rapidly expands tiny gas bubbles. These bubbles have no effect on the flavor, but they do produce a lighter, airier texture than traditional whipping methods. This is ideal for whipped cream, mousses, soufflés, and even some foams for savory recipes.
- Fast and Easy Aeration: Using a nitrous oxide dispenser saves time and effort compared to traditional whipping methods. Simply fill the dispenser with your ingredients, screw on a nitrous oxide cartridge, and then dispense. This makes it ideal for professional kitchens, where speed and consistency are essential.
- Neutral Flavor and Aroma: Nitrous oxide has no flavor or aroma. This means that it will not change the taste of your food, allowing the natural flavors to shine through. This is particularly important for delicate desserts and dishes that require subtle flavor variations.
- Controllable Dispensing: Nitrous oxide dispensers provide precise control over the amount of aeration. This is useful for recipes that require a specific texture, such as a light and fluffy mousse versus a denser whipped cream topping.
Overall, nitrous oxide cylinders offer a convenient and effective way to achieve light and airy textures in various food preparations, saving time and maintaining the intended flavors.
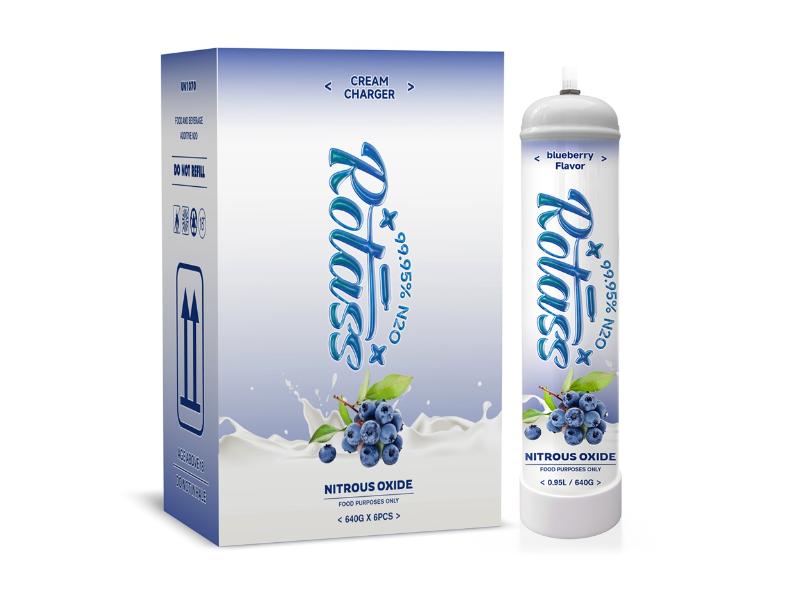
How Do I Use a Nitrous Oxide Cylinder?
Here’s a breakdown of how to use a nitrous oxide cylinder for food preparation:
Equipment:
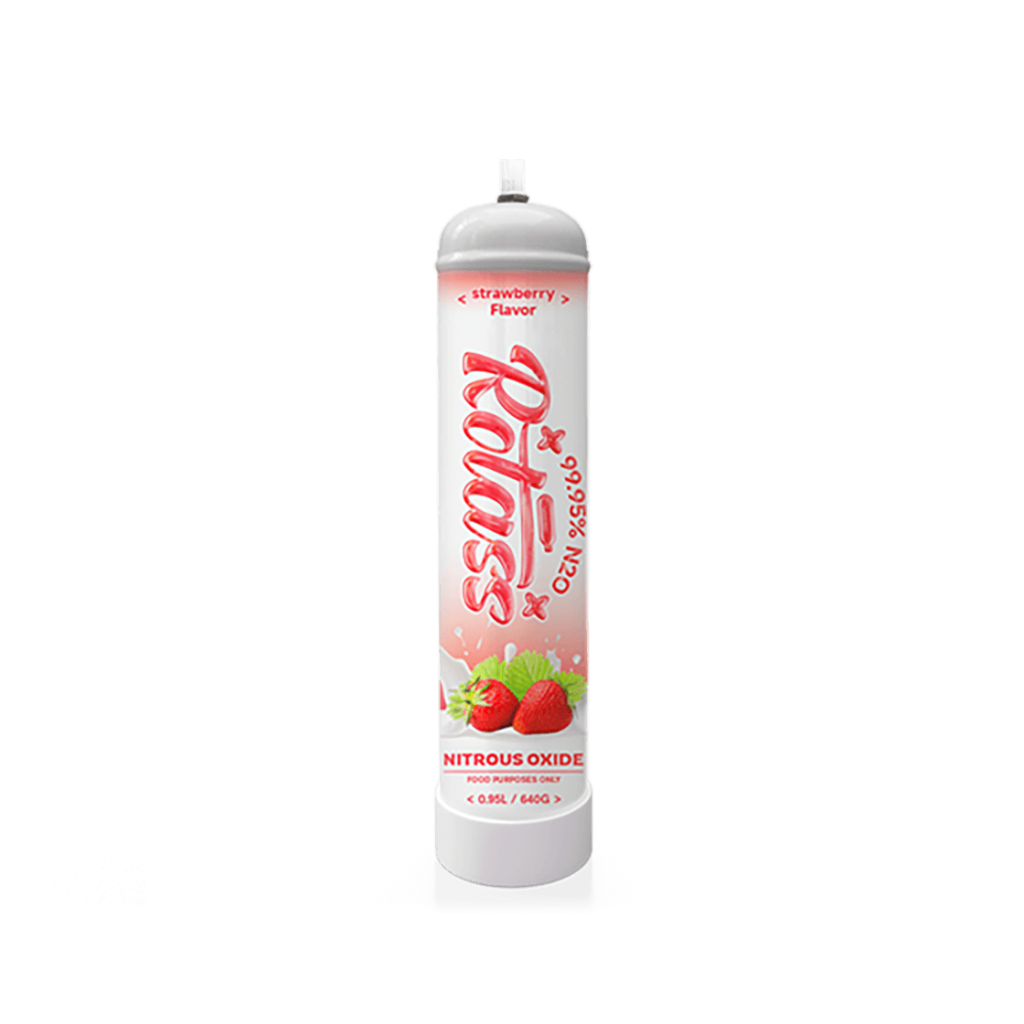
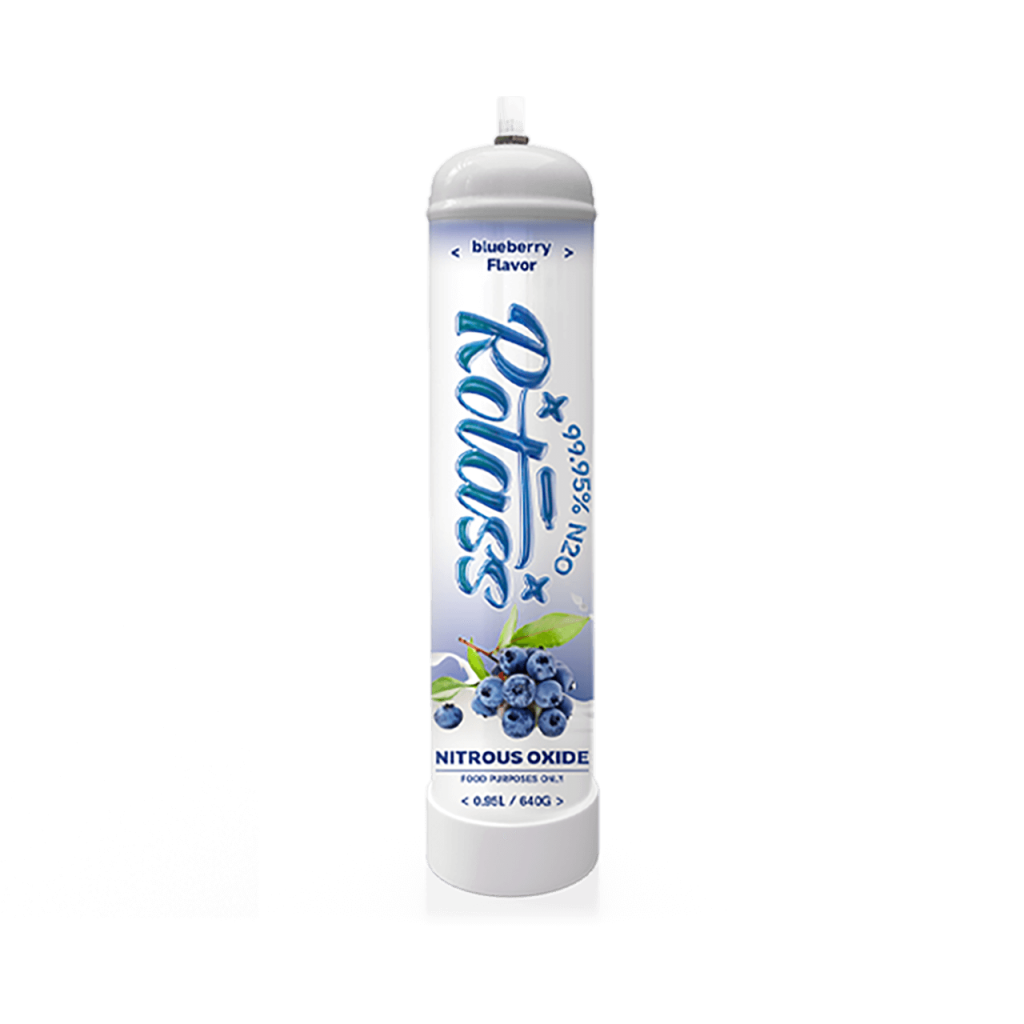
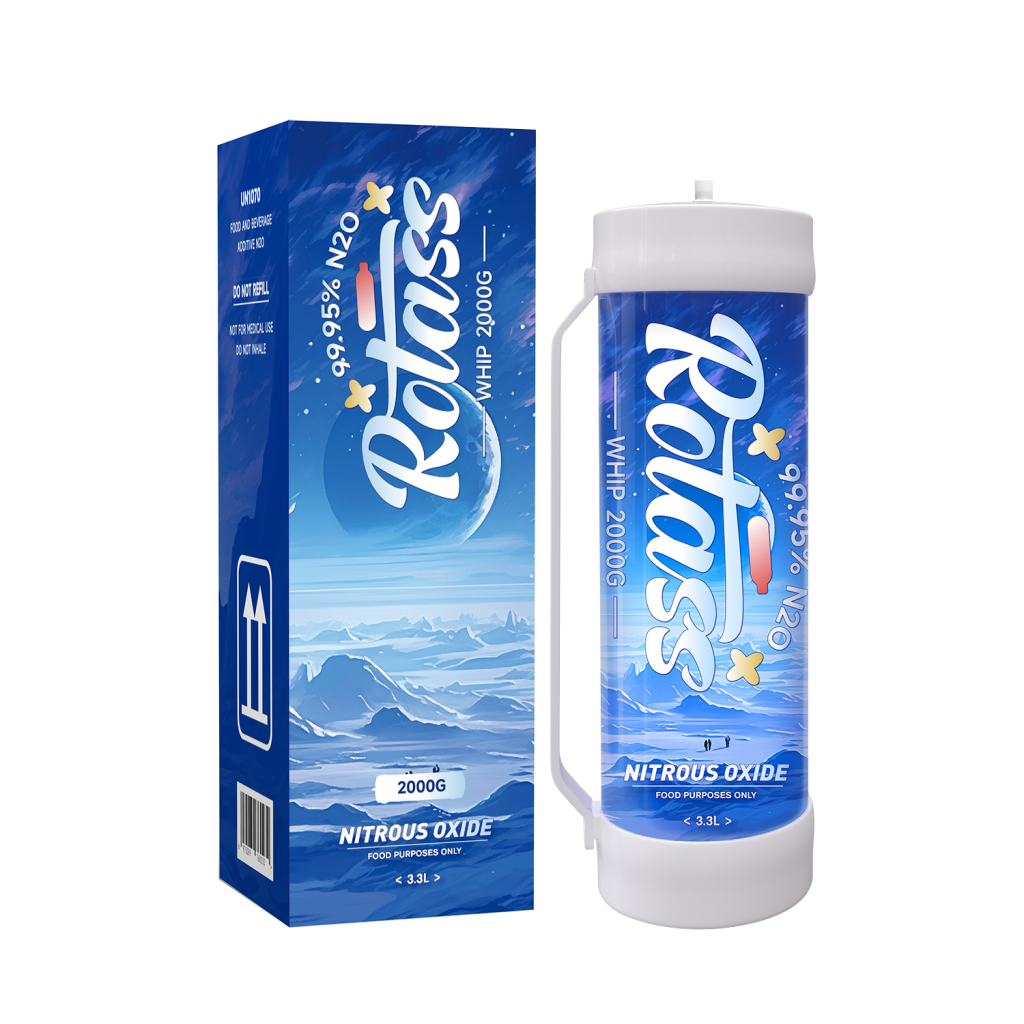
- Nitrous oxide cylinder (food grade)
- Cream whipper or dispenser designed for nitrous oxide
- Chargers (if your cylinder uses them)
- Recipe suitable for using a dispenser (e.g., whipped cream, mousse)
Safety Precautions:
- Always follow the manufacturer’s instructions for both the dispenser and the nitrous oxide cylinder.
- Never use a damaged cylinder or dispenser.
- Keep the dispenser pointed away from yourself and others when using it. Nitrous oxide can rapidly expand and cause frostbite, so wear gloves when handling the dispenser, especially the head.
Steps:
- Prepare your recipe: Make sure your ingredients are cold (ideally below 40°F) for optimal results. Follow the recipe’s specific instructions for using a dispenser.
- Assemble the dispenser: Screw the dispenser head onto the body, following the manufacturer’s instructions. If you are using chargers, insert them into the dispenser head according to the instructions. If you are using a large cylinder with a threaded connection, attach it to the dispenser head.
- Fill the dispenser: Fill the dispenser with cold ingredients to the recommended line (usually no more than ¾ full). Never overfill the dispenser.
- Charge the dispenser: When using chargers, some dispensers require a specific method to “puncture” the charger and release the gas. Follow the manufacturer’s instructions closely. If you’re using a large cylinder, just open the valve.
- Dispense your creation: Hold the dispenser upright and point the nozzle away from you and others. To release the contents, gently press the lever on the dispenser head. The dispenser may need to be shaken on occasion, depending on the recipe.
- Stop dispensing when you reach the desired texture. Nitrous oxide can cause the mixture to overaerate and become watery, so use in short bursts.
- Clean the dispenser: After use, disassemble the dispenser and thoroughly clean all parts with warm soapy water. Allow it to dry completely before storing.
Additional Tips:
- Begin with a small amount of nitrous oxide and apply in short bursts to achieve the desired texture.
- Nitrous oxide produces less stable foams and creams than traditional methods. These creations will deflate with time (usually within 30 minutes to an hour). It’s best to make them right before serving.
- Nitrous oxide cylinders are not refillable. Once the gas is depleted, you will need to purchase a new cylinder or charger. Remember that safety is paramount. When using nitrous oxide cylinders for food preparation, always follow the manufacturer’s instructions and put safety first.
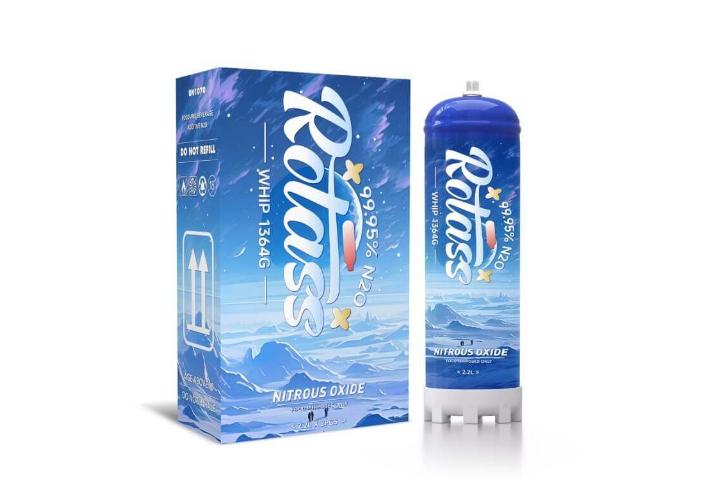
How Much Nitrous Oxide Should I Use?
The exact amount of nitrous oxide you’ll need depends on two main factors:
- The size of your dispenser: Dispensers come in a variety of sizes, ranging from 250ml to one liter. The larger the dispenser, the more nitrous oxide you’ll probably need to get the desired texture.
- The recipe you’re following: Whipped cream dispenser recipes typically call for the recommended amount of nitrous oxide or chargers. This will vary depending on the amount of liquid used and the desired final texture.
Here’s a general guideline:
- For small dispensers (250ml): Begin with one standard-sized charger (typically 8g of nitrous oxide). This is usually sufficient to achieve stiff peaks in whipped cream or to aerate small batches of mousse.
- For medium dispensers (500ml): For looser textures, one charger may suffice; however, for stiffer peaks or larger batches, two chargers may be required.
- For large dispensers (1 liter): Depending on the recipe and desired results, you may need two or even three chargers.
Here are some additional tips:
- Always be cautious and start with less. It’s easier to add nitrous oxide than to remove it. Nitrous oxide overaeration can result in a thin and soupy mixture.
- Pay attention to the sounds: As you pour the mixture, listen for the sound. When the sound gets noticeably quieter, it usually means the gas is running low.
- Follow the recipe’s instructions: The recommended amount of nitrous oxide or chargers is specified in the majority of dispenser-specific recipes. This is the most effective way to ensure optimal results.
- Never exceed your dispenser’s recommended fill line and follow the manufacturer’s charger instructions. If you are unsure about the amount, always refer to the recipe or the dispenser’s manual.
Conclusion
Nitrous oxide cylinders are a fun and practical way to enhance your culinary creations. With a basic understanding of the science and a few simple steps, you can create restaurant-quality textures and impress your guests with light and airy dishes. Remember to prioritize safety by following the manufacturer’s instructions and handling practices. Begin by experimenting with small batches of nitrous oxide, adjusting the amount according to your recipe and desired outcome. If you still have any other questions welcome to contact us.


