2024 / 04 / 19
How to Use a Cream Dispenser to Make Foam, Whipped Cream, and Mousse?
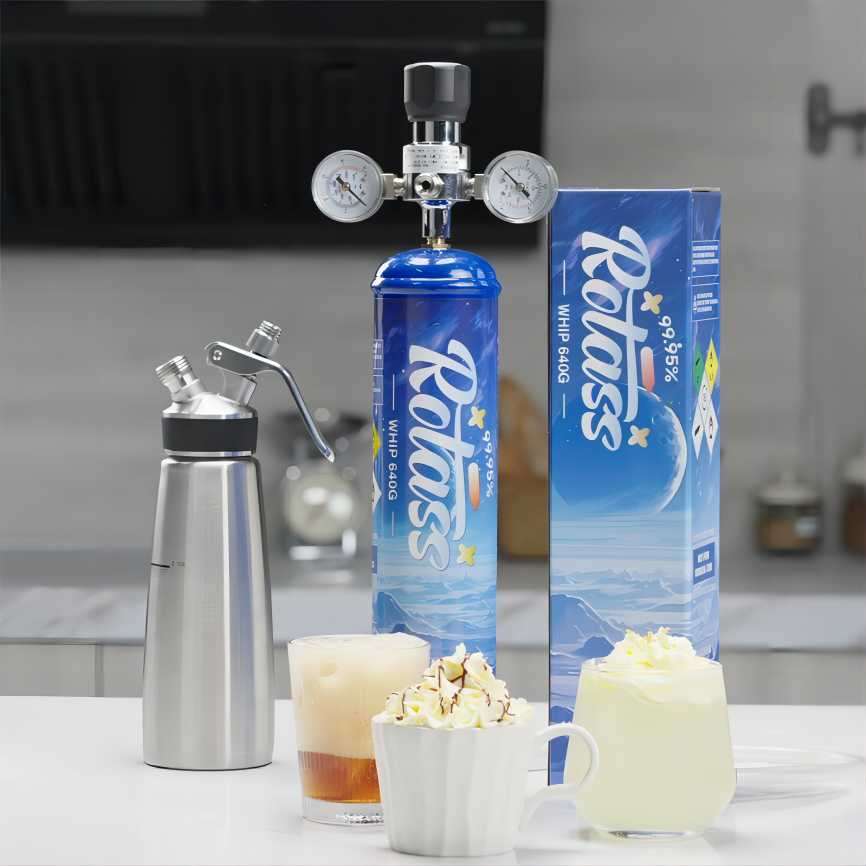
With a cream dispenser, there are countless creative possibilities. Cream dispensers can let you produce everything from feisty cocktails to lip-smacking hot cocoa topped with whipped cream! Making foam, whipped cream, and mousse with a cream dispenser is covered in more detail in the section below.
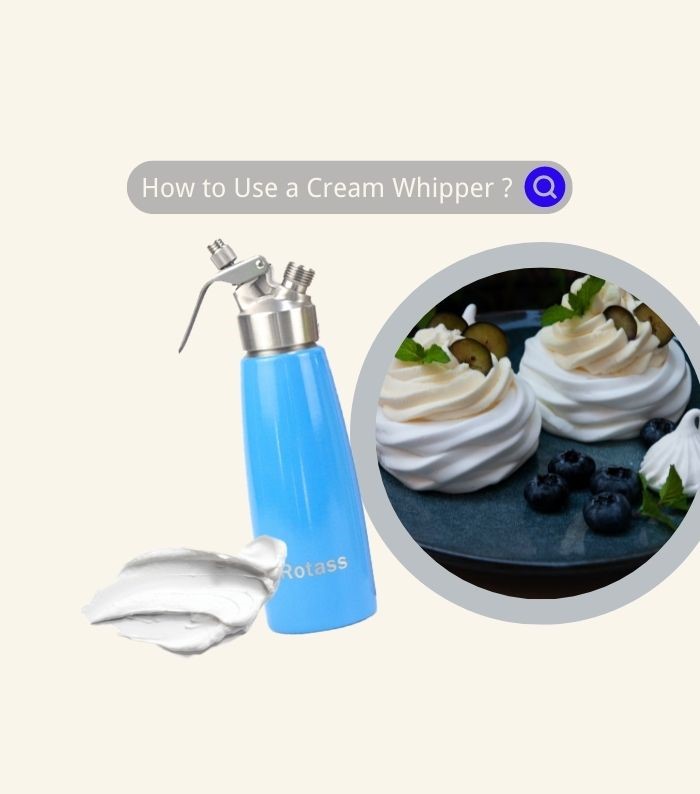
How to make foam with a cream dispenser?
The majority of seasoned chefs also create foams with cream whippers. Foam-making components and procedures are listed below.
- Ingredients:
- a source of protein like egg whites
- Bitters (optional)
- Acidifier for water (lemon juice works best!)
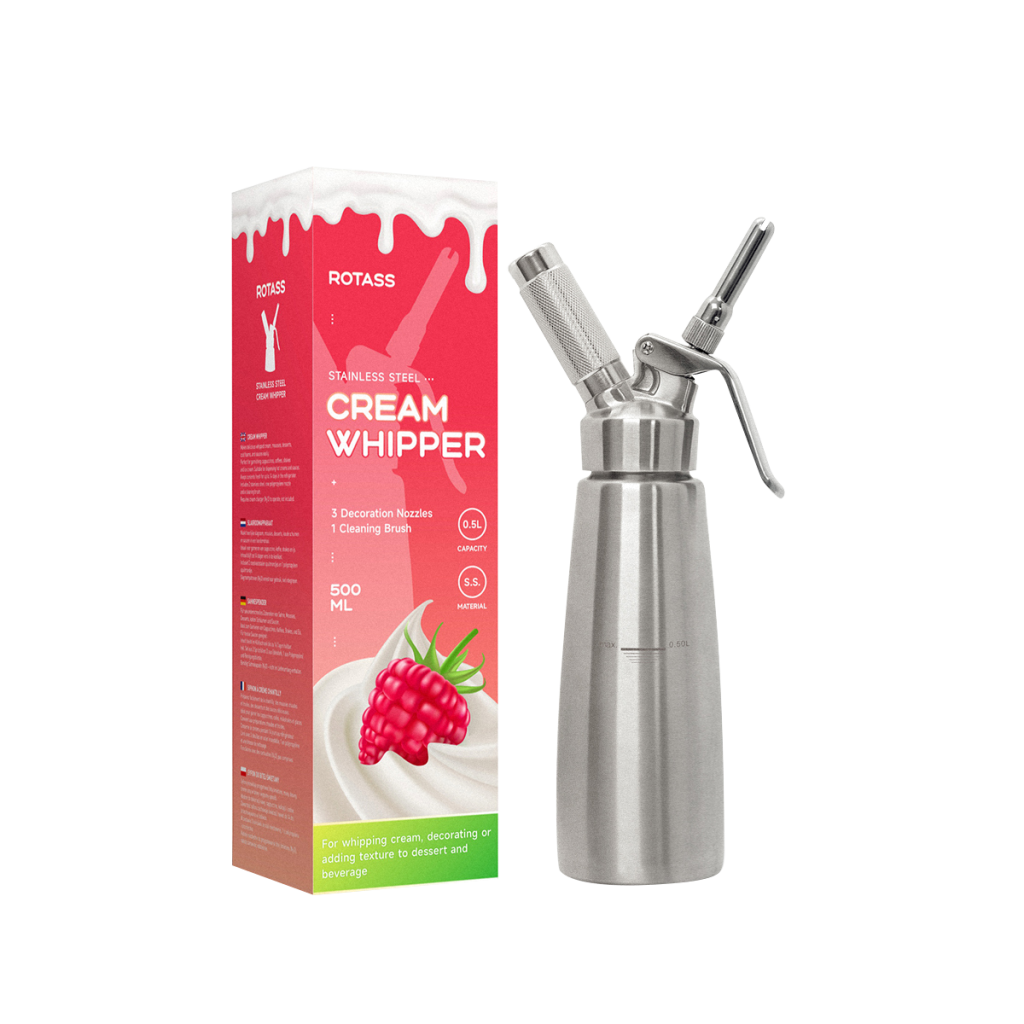
- Whipping cream dispenser or container
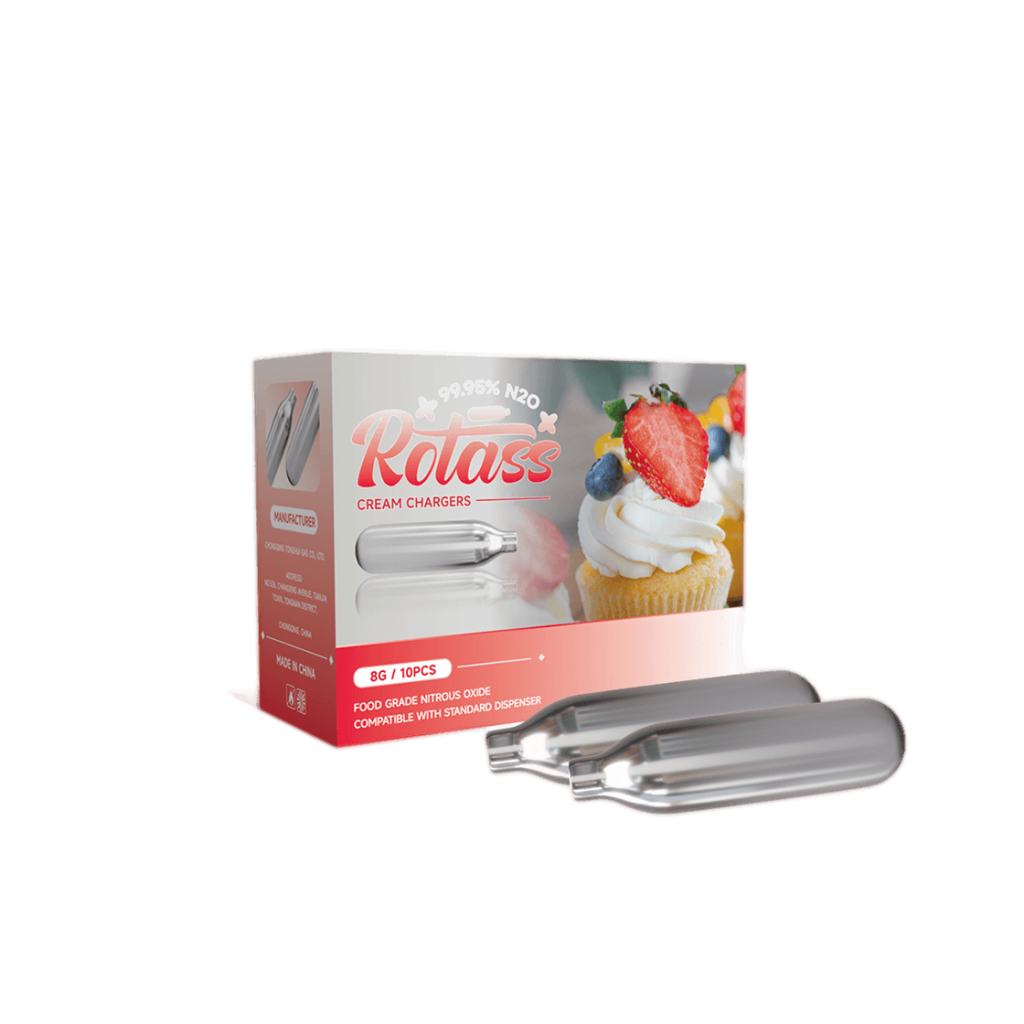
- N2O cream chargers
Step1: Add and mix all the ingredients, excluding the egg whites, in a glass in the first step. To ensure optimal ingredient blending, whisk the mixture thoroughly.
Step2: Add the egg whites and this mixture to the cream whipper container.
Step3: The third step requires you to cover the cream whipper’s lid. Make sure the cover is completely closed to prevent any potential leaks.
Step4: Shake it just enough to combine the ingredients.
Step5: Now it’s time to shake and charge your whipper using an N2O cream charger. After that, remove the charger and proceed with the second cream charger in the same manner.
Step6: Your foam is prepared. You may now layer desserts and drinks using it.
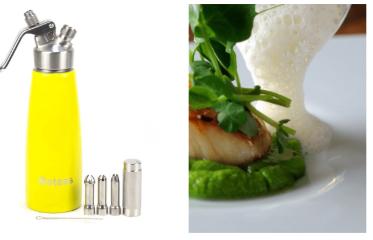
How to make whipped cream with a cream dispenser?
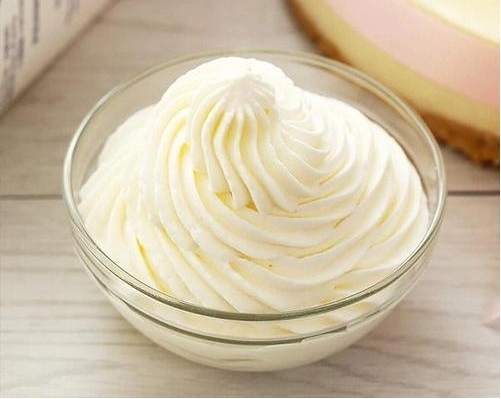
Using a cream dispenser allows for quick access to freshly made whipped cream. For your sweet desserts, using canisters will guarantee better-quality whipped cream. The five steps are below.
Step1: Each dispenser component should be cleaned Well.
Use room temperature or cold water to wash the bottle, pipe nozzle, and gas cartridge, and screws them. Before continuing with the operation, each component must also be towel-dried and cleaned.
Step2: Select the Piping Nozzle.
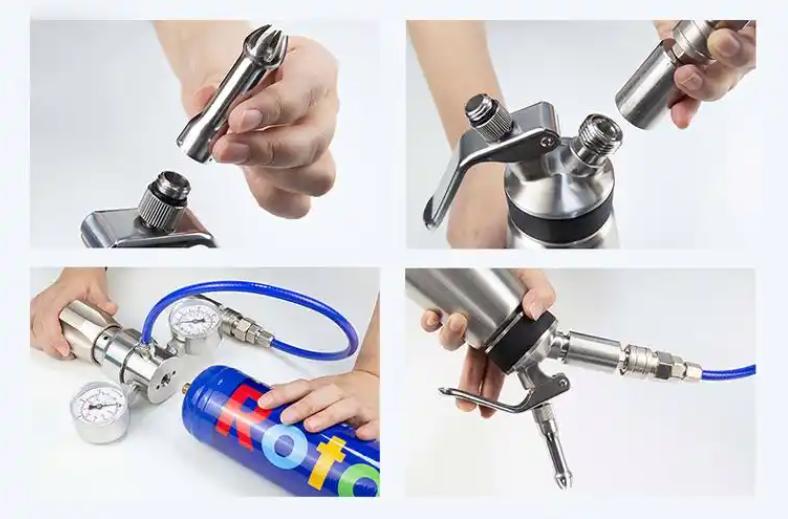
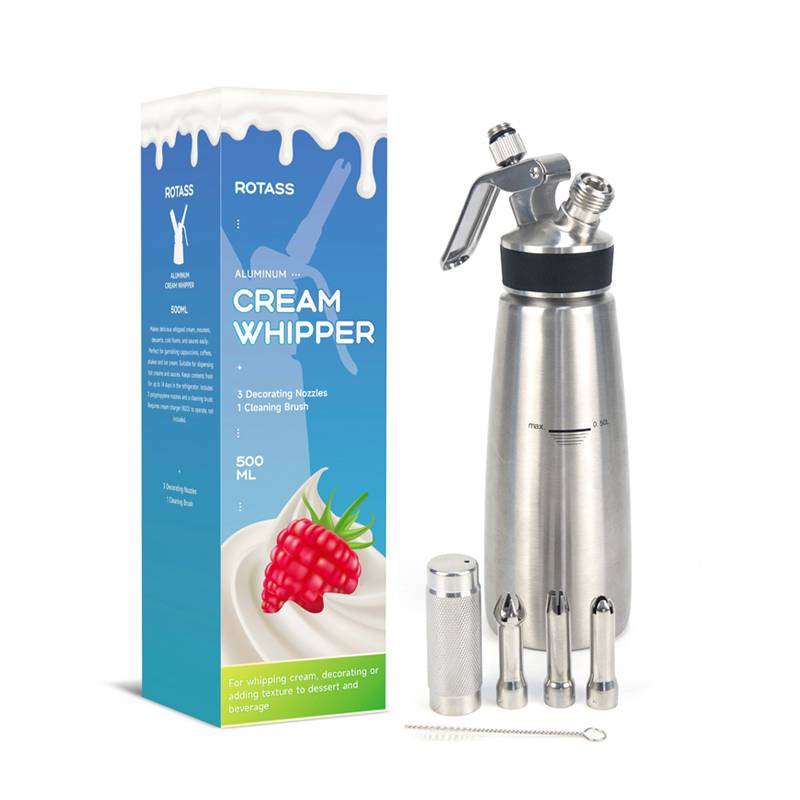
The cream dispenser’s lid should be unscrewed and set aside. Next, attach your preferred nozzle or tip to the dispenser’s top and check if the gasket is properly positioned on the head’s lower portion.
Step3: Add the required ingredients.
You can add the desired ingredients, such as whipping cream, to the cream dispenser’s bottle. You can now include your preferred flavor or sugar. The bottle is not overfilled, and the maximum fill line has not been surpassed.
Step4: Set the Whipping Cream Charger in place.
Make sure that the lid is airtight before closing it. The cream charger should be screwed into the dispenser’s holder. Make sure the smaller end of the charger is facing up when you do this. Next, gently turn the charger to let the gas flow into the bottle. The gas has run out, as indicated by a little “hiss.”
Step5: Shake it vigorously!
You have the option of leaving the cream charger in place or taking it out once you hear the hissing sound. The cream charger will then need to be shaken. You can shake things up by turning the cream dispenser upside down, sideways, or in any other direction. Shake the materials thoroughly to ensure that the nitrous oxide gas and the liquid in the dispenser are well-mixed.
How to make mousse with a cream dispenser?
Making mousse is simple when using a whipped cream dispenser. Here are the components and procedures for making mousse.
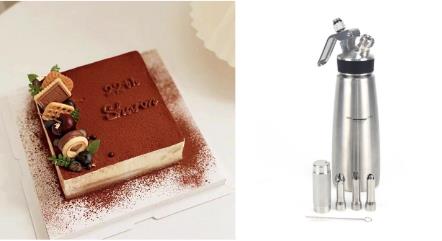
- Ingredients:
- Regular whipping cream, 500 ml.
- 5 tbsp. of instant cocoa
- 3 tablespoons of sugar, granulated
Step1: Add each ingredient to the cream whipper and combine.
Step2: Attach the cream dispenser head and tighten the screw.
Step3: Charge the dispenser with an N2O canister.
Step4: Shake for 10 seconds with vigor.
Step5: Use after 30 minutes in the refrigerator.
Step 6: Dish out the cream as needed from your cream dispenser. Your chocolate can only be stored in the refrigerator for 14 days.

